
Making Pens and Pencils
By Rick Christoph
First, a look at my favorite assistant -- Cody in his festive, holiday reindeer antlers.


And now, let's make some pens!
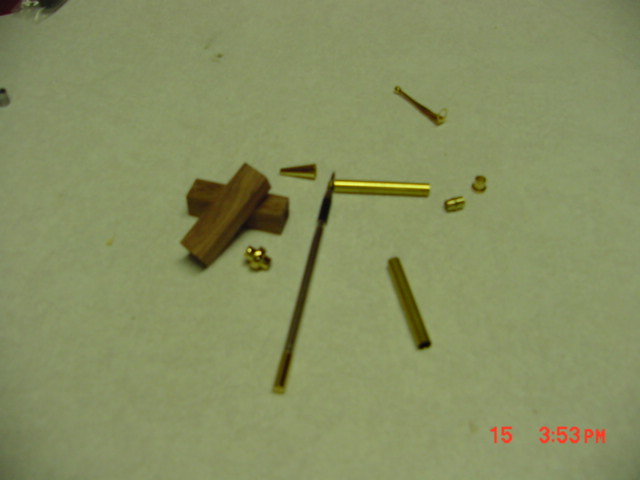
This is where we start. The blocks of wood are Rosewood, a resin-filled wood that turns well on the lathe. The first step is to glue the brass tubes into 7mm holes drilled through the rosewood. The next step is to square the wood/brass blanks with a special drill bit and mount them to the mandrel on the lathe.
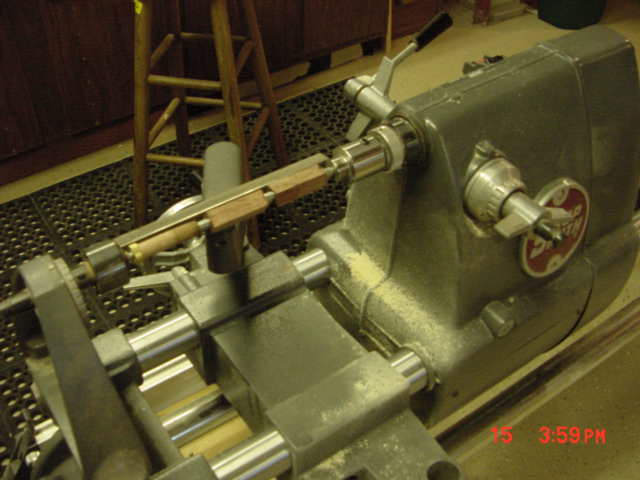
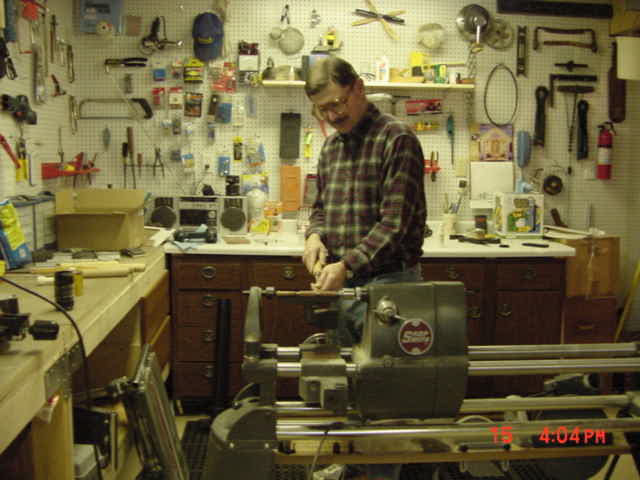
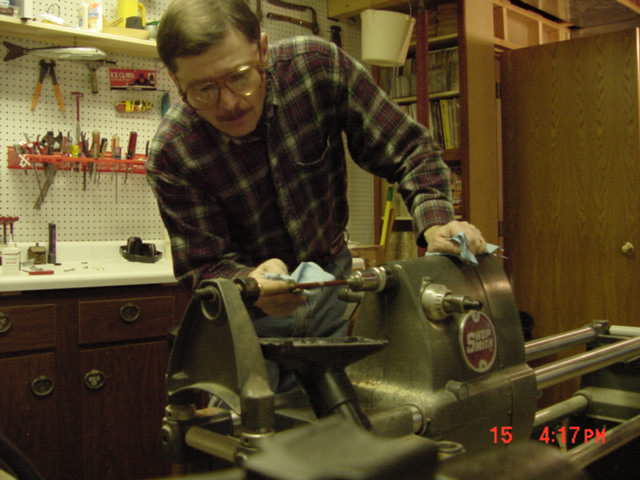
We will turn these at low speed (500 rpm) first and use a turning tool called a gouge to round the square pieces of wood. As the blanks become more round, I crank up the speed on the lathe (to about 800 rpm) and change to a tool called a skew which allows to me make more precise cuts.

I have to be a bit careful here since too much pressure will cause the thin wood covering to shatter.
Almost done with the turning. The pen barrels are the correct diameter but still rather rough. Now, it is time to sand. And sand, and sand! I start with 150 grit paper and work down to 1500 grit which produces almost a mirror-like finish. This is done with the lathe turning at about 1000 rpm.
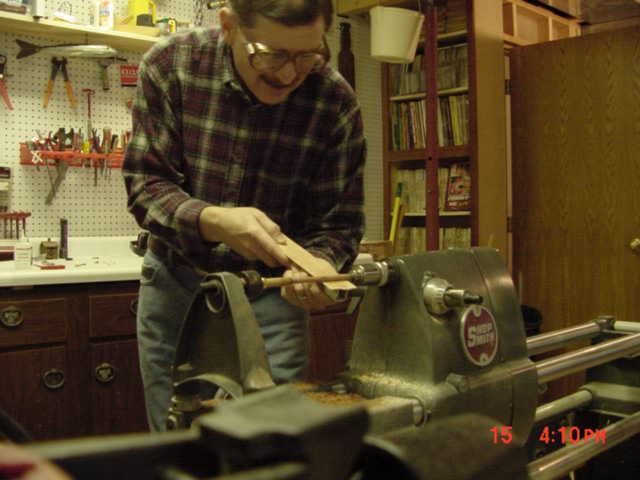
This sanding is followed by steel wool which really puts a finish on!
Here I am putting a stain on the completed wood blank. In this case, it is a dark cherry which brings out the grain on the rosewood.
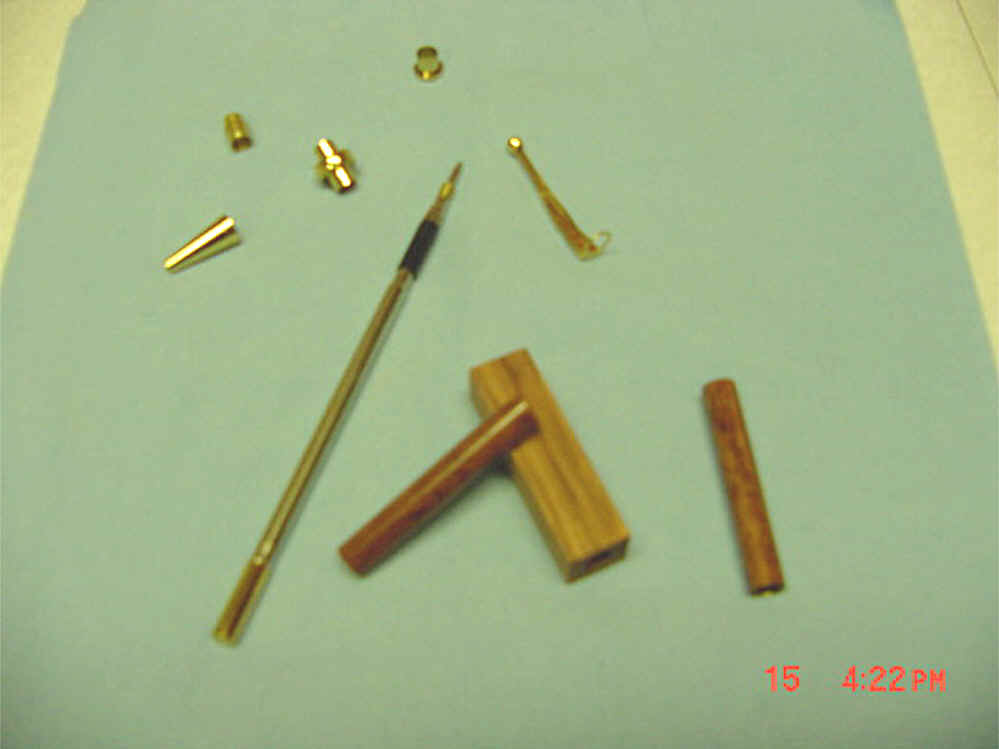
Hard to see, but the 2 round wood tubes have just been taken off the lathe. The big chunk is there to show how it started.
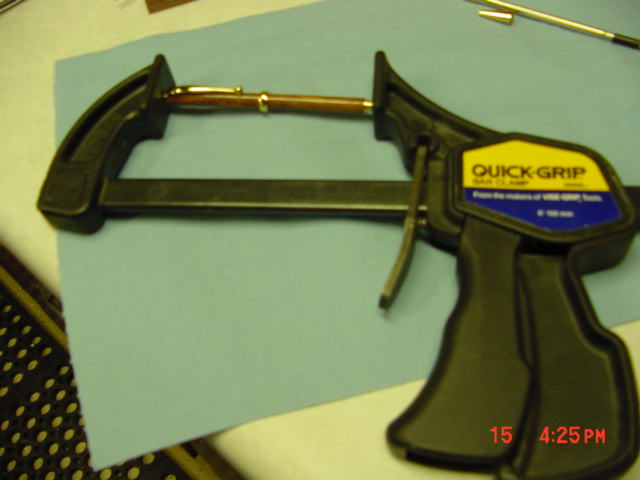
Finally, I press each part into place. It takes quite a bit of force since I don't want it to come apart. The pen uses a Cross refill while the pencil takes .7mm lead refills.